Step #4: Applying the paste, storing, and fermenting kimchi
How to sauce the cabbage
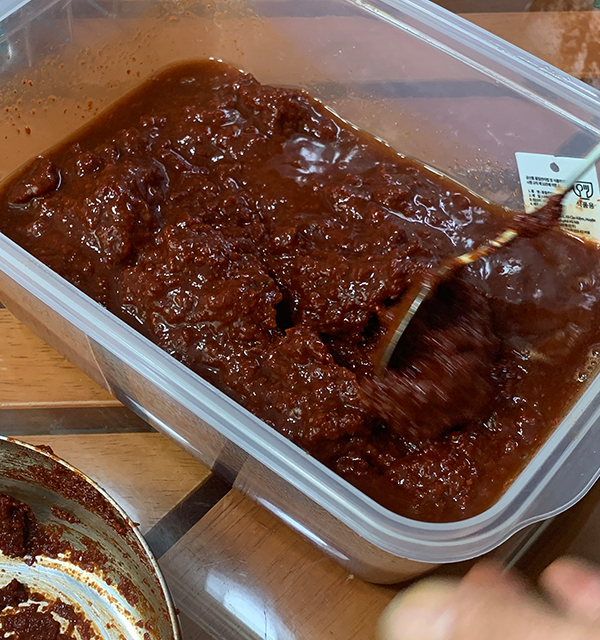
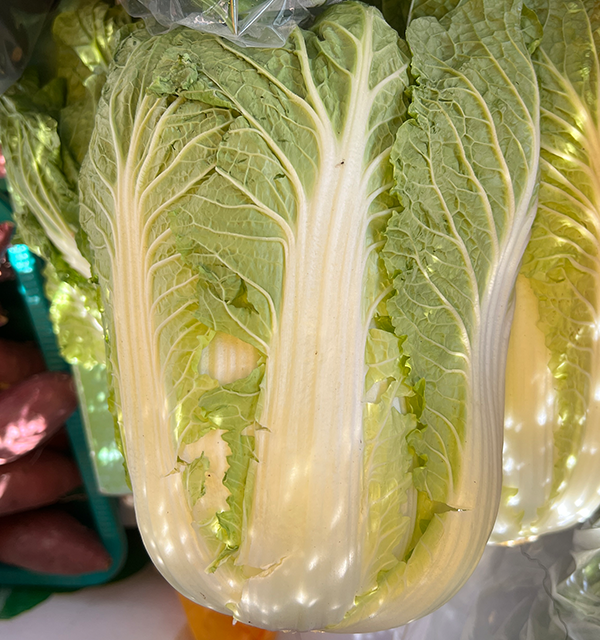
Now the easy part has come, adding the paste to the cabbage.
When you add the paste, you must coat each leaf and layer of the cabbage leaves. Make sure you add extra seasoning paste to the base of the cabbage, because remember since it is thicker and dense at the bottom, adding more seasoning ensures it is fully seasoned.
Now keep in mind that you do not need to smother the cabbage in the seasoned paste. Add enough so that it is coated like the back of a spoon is coated in a thickened sauce.
After coating all the leaves and the outer leaves, take the outer leaf and wrap it around the bunch to make a small packaged bundle. This compacts the cabbage for storage and keeps the seasoning sauce inside.
How to properly store kimchi
When we are talking about how to properly store kimchi, we need to cover the vessel used to store, how the kimchi should be placed into that vessel and the conditions that are best for fermentation. Proper kimchi storage is essential to successfully and safely ferment.
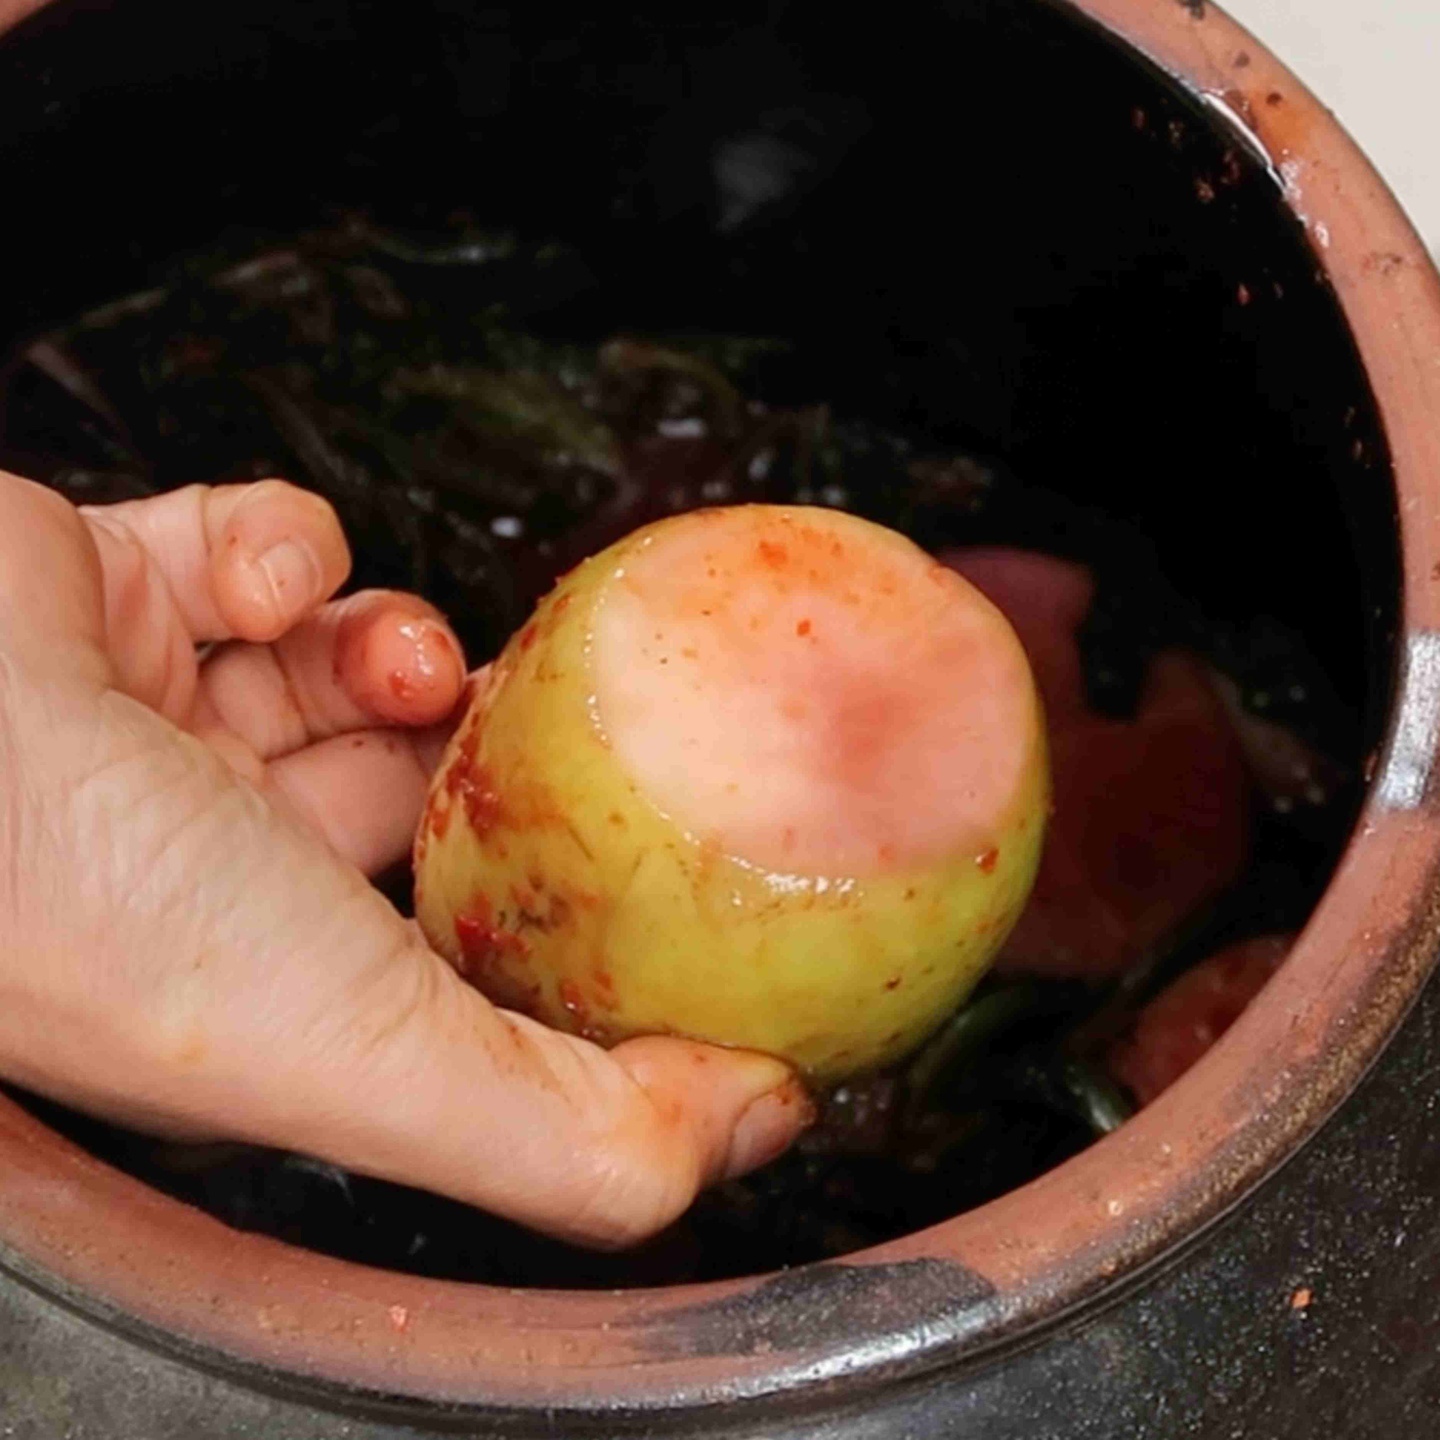
Traditionally, kimchi was stored in special containers that were buried in the ground which created the perfect environment for fermentation. Kimchi Jang-dok (김치장독) is a fermentation pot used for kimchi. It falls under the category of Onggi (옹기). It is special because it keeps light off the kimchi, and contains microscopic holes that allow the ingredients inside to breathe. The microscopic holes are created through the heating process of this vessel when this vessel is being crafted.
A Kimchi Jang-dok (김치장독) is traditional but not essential to making kimchi. You can use airtight jars to store your kimchi. The pro to this is that they are more accessible but because they are glass or plastic, you need to avoid any exposure to sunlight. Remember when you are using these kinds of jars, you need to properly sanitize them before using. I sanitize them with boiling water or you can run them through your dish washer with no soap. Remember to let any container you use air dry completely before adding the kimchi because the water can make your kimchi go bad.
Kimchi containers are also pretty accessible. You can find them online or in your local Hmart. They are specially made to have features that help with fermentation. Kimchi containers have an airtight lid, most are a solid color instead of being transparent which helps to prevent sunlight from reaching the contents in the container, and when you are buying one, look for those that contain an insert which is used to push the kimchi down into the container. This insert helps to push all of the air out of the kimchi container and keep the vegetables submerged in the natural juices.
Placing kimchi in the container
Now that we have chosen the container that we want to place our kimchi into and it is sanitized and fully dried, let’s talk about how to put the kimchi into that container.
When you make your kimchi, you can secure them into a tight bunch by wrapping the outer leaf of the cabbage around the cabbage, this is done to keep the seasoning and ingredients in the leaves of the cabbage but this also makes it fit more secure and snug into the jar and which then helps to push air out.
So now that your bundles are ready, you can place your kimchi into the container. As you place the kimchi into the container make sure that you press the kimchi down to remove any air pockets. Air in the container will compromise the texture of the kimchi.
You need to make sure that as you fill your kimchi containers that you do not overload the container. If your container is filled to the brim with kimchi than there is no room for the juices from fermentation to go and it could (will) leak. You must leave space at the top of the jar for the kimchi to ferment and expand. You only want your container to be maximum 80% full.
After putting the seasoned kimchi into the jar and pressing the kimchi down securely. You can take a brine unseasoned piece of cabbage, a piece of thick plastic wrap or covering, or a sheet of dried dashima seaweed and lay it on top to create a seal to prevent air from hitting the top of the kimchi. If you plan on storing the kimchi for a long time (for instance when you make aged kimchi (묵은지김치)) you can also sprinkle some more coarse salt onto the brined unseasoned cabbage leaf.
Then you can place a sanitized food weight or rock on top of the kimchi to keep the air out and to keep the vegetables fully submerged in their natural juices as they ferment. As I mentioned earlier if you have a kimchi container with an insert you can just use that instead of plastic or food weights because it does the same thing.
Now that the kimchi is secure, wipe down the edges of the container and then close completely.
Prime conditions for fermentation
Now that your kimchi is in its fermentation pot, lets cover the conditions that you should store your kimchi.
There are prime conditions for fermentation. The three main conditions to consider are temperature, sunlight, and oxygen.
Temperature
The temperature that red kimchi is stored should be constant and below 41F, ideally around 35F+. Temperature is directly related to the sourness and acidity of the kimchi. A warmer temperature will make the kimchi more acidic more quickly and mushy. That is why when you want to make sour kimchi you leave it out at room temperature longer so that it gets sour quicker but remember it is not left out of safe fermentation temp for too long just long enough to get a sour flavor. A too low or cold temperature will not allow the bacteria to flourish therefore it will not ferment well.
Sunlight
Keeping kimchi out of the sun is important. Besides the fact that the sun will change the temperature, the sunlight will negatively affect the kimchi by killing the bacteria that make fermentation possible. That is why the traditionally kimchi vessels and most kimchi containers are not transparent. If you use a glass jar, try putting it in the back of the fridge or place a towel on top of the jar to avoid sunlight touching the kimchi when its outside temporarily.
Oxygen
Oxygen can ruin the texture of the kimchi, making it too soft or mushy. That is why we push the kimchi securely into the jar and use a plain brined cabbage leaf, seaweed sheet, plastic wrap, or weight to seal the kimchi inside. Try not to open your kimchi container so often while it ferments to check the progress, instead follow the general fermentation guideline that I will share. If you do use a transparent jar, however, that will help you to monitor the kimchi bubbles and fermentation progress. Once your kimchi is ready, instead of constantly opening the main large container, take out a batch and put it into a smaller container which you will use to eat at the table. Again, this helps to keep oxygen off the whole batch of kimchi.
Regular vs. Kimchi Fridge
For unwanted bacteria to survive and reproduce there are conditions that need to be met water, nutrition, oxygen, and temperature. If one of these conditions is not met bacteria cannot survive. In the North Pole or very cold areas bacteria does not usually survive. That is why we use the fridge to prevent and slow down spoilage of food in general.
Now I thought you guys would be interested in knowing the difference between a regular fridge and a kimchi fridge.
A regular fridge blows air into the fridge to cool the ingredients inside.
A kimchi fridge is designed to be cold in itself through its strong motor. A kimchi fridge is supposed to act like a traditional kimchi vessel would. A kimchi fridge is set at the ideal constant temperature for the best fermentation and the temp can be changed based on what you need to ferment or store.
How to jump start fermentation
So now that your kimchi is done and stored in your preferred fermentation vessel, before placing it in the fridge you should jump start the fermentation.
If you want to jump-start fermentation then after making the kimchi let it ferment at room temperature, away from the sunlight for the recommended time then place it in the fridge. This helps to boost the production of good bacteria that makes good fermentation. This is supposed to make kimchi taste more delicious.
However…
If you are planning for long term storage for instance if you are planning on making aged kimchi, you can place the kimchi directly into the fridge after making it, this slows the production of fermentation bacterial, which makes sense to do if you want to store the kimchi for a long time without it becoming too sour too quickly.
How to Jump Start Fermentation for Red Kimchi:
If you are making regular fermented kimchi, then:
- In the summertime or in warmer climates, you can leave the kimchi in a cool, dark area at room temp up to 12 hours before placing it into the fridge.
- In the winter or cold climates, you can leave the kimchi at room temperature away from the sun for as little as 24 hours up to 3 days before storing it in the fridge.
The Fermentation Timeline
Remember that your batch of kimchi may ferment at a different speed than other people’s batches of kimchi. So, monitor the kimchi as it ferments by looking and tasting. Remember don’t check every day/open the lid and allow oxygen to touch the kimchi. Just check every 1-2 weeks to see if it achieved the taste you prefer. Keep in mind you can eat kimchi at any stage of the fermentation process you do not need to wait to eat your kimchi. You can eat if after 1 day or right after making it. My mother-in-law recommends that you eat kimchi either fresh or lightly fermented because when it is “mid-way fermented” the flavor is not as delicious.
As kimchi ferments, bacteria start to grow. As the days go by more and more bacteria develops but after a certain period of time it starts to decline.
- After kimchi is freshly made bacteria starts to develop.
- At 50 days of fermentation kimchi has the most bacteria.
- After 50 days of fermentation the number of bacteria in the kimchi starts to decline.
After 50 days of fermentation kimchi bacteria starts to decline. So, what does this mean? Does that mean it’s not safe to eat? Not at all. Kimchi was made to last a long time so it’s still safe.
I only bring this up because it is a good point of reference when it comes to when you should eat your kimchi by if you want the most healthy bacteria benefits.


